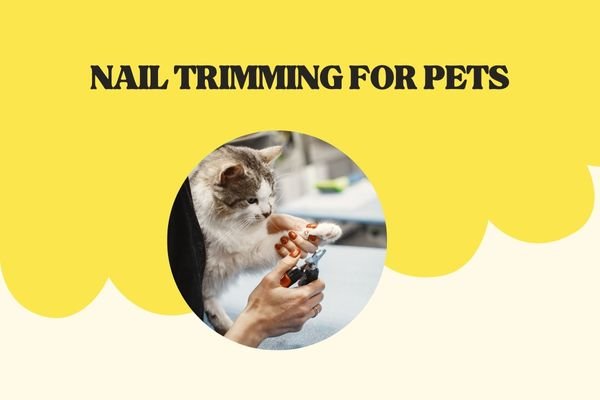
For many pet owners, the mere thought of trimming their pet’s nails can conjure up images of a wrestling match, a chorus of protests, and the ever-present fear of cutting too far. Nail trimming is a chore that both pets and their owners often dread, leading to procrastination that can result in overgrown nails, discomfort for the pet, and even serious health issues. However, with the right approach, nail trimming doesn’t have to be a source of anxiety. It can become a calm, even pleasant, part of your pet’s regular grooming routine.
This comprehensive guide will walk you through the essential steps to make nail trimming a stress-free experience for both you and your beloved companion. We’ll cover everything from the right tools and proper technique to desensitization training and what to do if you accidentally cut the quick.
The Importance of Regular Nail Trims
Before we get to the “how,” let’s briefly review the “why.” A pet’s nails, especially those of a dog or a cat, are constantly growing. Unlike a wild animal that wears down its nails on rough terrain, our domesticated pets spend most of their time on soft surfaces like carpet and grass.
- Discomfort and Pain: Overgrown nails can cause a pet to walk on the sides of their paws, leading to an unnatural gait. This can cause pain in their feet, legs, and even their spine.
- Injury Risk: Long nails can get caught on furniture or carpet, leading to painful tears or broken nails. In severe cases, they can even grow into the paw pad, causing a painful infection.
- Behavioral Issues: A pet that is in constant pain or discomfort from overgrown nails may become irritable, withdrawn, or even aggressive.
Regular trimming, about every 2-4 weeks, is the best way to prevent these issues and keep your pet comfortable and healthy.
1. Choosing the Right Tools
Having the right equipment is the first step to a successful trim. Avoid using human nail clippers, as they can splinter your pet’s nails.
- Scissor-style Clippers: These are often recommended for smaller dogs, cats, and puppies. They offer precise control and are easy to handle.
- Guillotine-style Clippers: These work best for medium to large dogs. The blade slices through the nail cleanly, providing a quick trim.
- Grinders (Dremels): A grinding tool files the nail down instead of cutting it. This is an excellent option for pets who are afraid of the clipping sound or for owners who are nervous about cutting the quick. Grinders create a smooth, rounded nail edge, but they do require a bit more time and can make a humming noise that some pets dislike.
- Styptic Powder: This is an absolute must-have. It is a powder that stops bleeding instantly if you accidentally cut the quick. Keep it on hand before every trim.
2. Desensitization: The Key to a Calm Pet
You can’t expect a pet to be okay with nail trimming if their only experience is a stressful one. The goal of desensitization is to teach your pet that the clippers, and the act of handling their paws, are not a threat. This process can take several days or even weeks, so start well before you need to trim their nails.
- Introduce the Clippers: Place the clippers on the floor near your pet and let them sniff them. Give them a high-value treat every time they interact with the clippers without showing fear.
- Touch and Treat: Next, touch your pet with the clippers, but don’t clip anything. Reward them for staying calm.
- Handle Their Paws: Begin by gently touching their paws and holding them. If they pull away, stop immediately and try again later. Reward them for letting you hold their paws for a few seconds.
- Simulate the Clip: Once they are comfortable with you holding their paws, gently touch a nail with the clippers and give them a treat. Repeat this, touching different nails.
- The First Clip: The first actual clip should be a single, quick trim of just the very tip of one nail. Immediately reward them with a jackpot of treats and praise. The goal is a positive association, not a perfect trim.
3. The Proper Trimming Technique
Once your pet is desensitized and calm, you can move on to the actual trimming.
- Find a Quiet, Well-Lit Space: Choose a calm area free of distractions. Having good lighting is crucial so you can clearly see the nail.
- Hold Firmly but Gently: For dogs, hold their paw firmly but gently, placing your thumb on the top of the paw and your index finger underneath. This helps you get a better grip and keeps their paw from moving. For cats, press gently on their paw pad to extend the nail.
- Identify the Quick: The quick is a blood vessel and nerve that runs through the nail. It is pink in color and is easy to spot on pets with white or clear nails. Never cut the quick. It is painful for your pet and will cause bleeding.
- On dark nails, it is much harder to see the quick. The best technique is to clip off tiny, sliver-sized pieces at a time. The center of the clipped nail will appear whitish or grayish. Once you see a black dot appear in the center, you are close to the quick. Stop cutting.
- Make the Cut: Hold the clippers at a 45-degree angle. Place the blade on the tip of the nail, about 2-3 millimeters from the quick, and make a quick, confident cut.
- Reward After Each Nail: The key to keeping the experience positive is to give your pet a high-value treat and verbal praise after each nail you clip. If you are a beginner or your pet is anxious, you might only clip one or two nails per session. That’s perfectly fine! The goal is consistency over speed.
Also check: How to Keep Your Pet’s Coat Shiny and Healthy
4. What to Do if You Cut the Quick
This is the most common fear for pet owners, but with styptic powder, it’s a manageable mistake.
- Don’t Panic: Your pet will likely yelp, pull away, or cry. Stay calm. Panicking will only make them more anxious.
- Apply Styptic Powder: Immediately dip the bleeding nail directly into the styptic powder or use a pinch of the powder to apply pressure to the tip of the nail. The bleeding should stop almost instantly.
- Comfort Your Pet: After the bleeding has stopped, reassure your pet with a calm voice and give them a treat. The goal is to end the session on a positive note, despite the mistake.
- Take a Break: Do not continue clipping the other nails that day. Resume the process in a few days when both you and your pet have had time to calm down.
5. Alternative and Advanced Techniques
- Grinding: If your pet is afraid of the clippers, a grinder might be a better option. Start by introducing the sound of the grinder with a treat reward, then touch their paw with the tool while it’s turned off. Gradually work your way up to grinding just a single nail tip for a second or two, with a reward after each action.
- Veterinary or Professional Trims: If you’ve tried all the desensitization steps and your pet is still too stressed, there is no shame in seeking professional help. Most veterinary clinics and groomers are experts at trimming even the most difficult nails. This is a great, stress-free option that ensures your pet’s health.
- Co-operative Care: This is a training method where you teach your pet to willingly participate in their own care. Using positive reinforcement, you train them to offer their paw and allow handling for an extended period. This is the ultimate goal for a truly stress-free experience.
Final Thoughts: The Road to Success
Nail trimming for pets is a journey, not a single event. It requires patience, consistency, and a foundation of trust. By breaking the process down into small, manageable steps and focusing on positive reinforcement, you can transform this dreaded chore into a peaceful, bonding experience. Remember, a little effort and a lot of patience now will save you and your pet from a great deal of stress and discomfort down the road.